How to Trellis a Tree
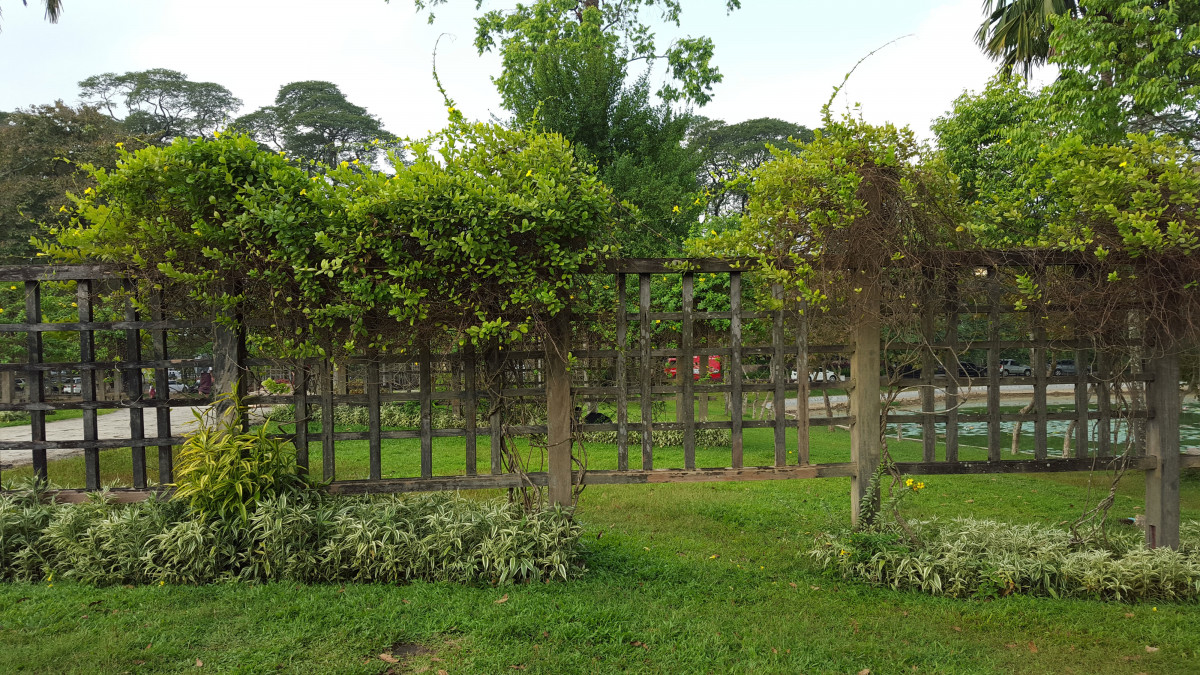
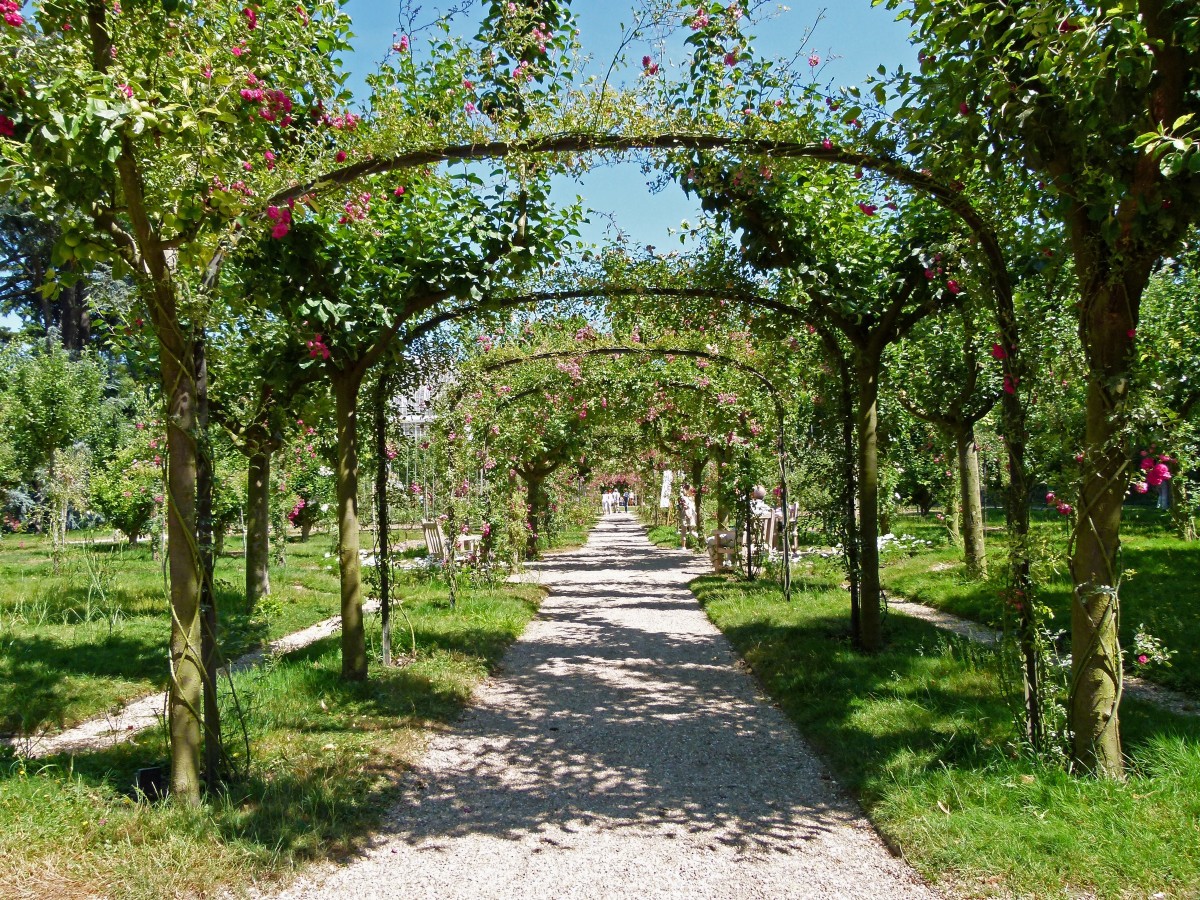
Is a trellis a structure? It is a free-standing structure usually made from wood or metal, with a framework of crossbars used to support, train, and display climbing plants. A trellis can also be a flat structure attached to a wall or a panel attached to beams over columns.
The Verrier palmette, the cordon, and the double U are the common shapes of trellised apple and pear trees. The carpenter branches must follow a plane parallel to the trellis and be oriented differently depending on the form chosen (horizontally for the cordon, obliquely for the devil’s palmette…). The total length of the carpenters reaches 3-4 meters.
The easiest shape to drive is the double U palmette. The technique described will serve as a basis for transposing it to other simpler forms (cordon, simple U palmette, devil’s palmette) or more complex ones (Verrier palmette, merchant flag, oblique palmette…).
Characteristics of trellised trees
– The tree remains compact, is easy to maintain and keeps a regular production over the years.
– Exposed to the south or west, it benefits from ideal conditions sheltered from the wind and takes advantage of the warmth of the wall.
– On the other hand, these trees require staking throughout their life and a very regular and meticulous pruning called “trigemme pruning”, i.e. with 3 eyes.
– To obtain these reduced forms, the scion must be grafted on a low vigour rootstock.
Focus on the double U palmette pruning
When pruning with a double U palmette, the trunk is divided into 2 short sections, which in turn carry 2 vertical axes 30 cm apart, forming a U shape:
– The first branching is located 30 cm from the ground.
– The second is 20 cm above.
– The tree’s total height is between 2.20 m and 2.50 m.
– The plants require a minimum planting distance of 1.20 m along a wall or a line of stakes.
– The training period is 4 years in the nursery and 3-4 years in the orchard.
Here are the steps to follow to trellis a tree.
1. First winter: make the trellis and cut back the scion
Build the trellis
Choose a southern or western exposure if you install your tree against a wall. Otherwise, orient the trellis in a north-south direction so that both sides receive the same light.
– Install 5 wires stretched between 2 stakes, spaced 30-20-50-50 cm from the ground.
– Place 4 vertical bamboo rods spaced 30 cm apart to direct the 4 axes of the double U.
– Plant one or more scions at 120 cm intervals.
Fold down the scion
– In March, cut back the scion to 37 cm from the ground.
Remove the 2 buds above the first wire placed at 30 cm high with your finger. This trunk portion will be used as a tab to support the axis.
– Select 3 beautiful buds by trimming the others. Notch the lowest one by forming a fairly deep arc in the bark above the eye. This technique increases the flow of raw sap to the bud and encourages the bud to grow. To make a notch:
◦ Using a grafting tool, make an initial notch 1 cm above the bud in the shape of a circumflex accent.
◦ Make a second, more open cut below, 2-3 mm deep, to extract a portion of bark and wood in the shape of an open mouth.
2. First growing season: orient the shoots
The 3 selected buds will give birth to 3 shoots:
– Bend the 2 tallest ones, one to the right and the other to the left, when they are 25 or 30 cm long, and hold them with a flexible tie to the first wire.
Important: Do not overtighten the tie, as this may strangle the stem. Wicker (called vîme), non-woven fabric, rubber, string or raffia are recommended for this type of tie, but this does not exempt you from regularly checking that the stems are not deformed by too much pressure.
– The third shoot is used as a backup in case one of the other two breaks during the folding process. Remove it if the operation has gone well.
– During the season, bend the two shoots again to orient them in the vertical direction. Use the first and second wires to hold them to form a U with 2 branches 60 cm apart.
– Remove the mitre by cutting flush with the bend of the last shoot with a bevel cut.
3. Second winter: fold down the axes a second time
– Fold down the 2 axes to 7 cm above the second thread. Form a mitre as before to fix them to the wire.
– Keep 3 buds not turned towards the wall, cut out the others, then notch the third one from the top. The end bud should face the front of the palm.
– Remove the suckers.
4. Second growing season: orient the shoots again
– Bend 2 shoots on each of the 2 strands when they are 25-30 cm long.
– Remove the third shoot if it has not been used.
– During the season: reorient the shoots vertically by using the sticks to stake them.
– Remove any other shoots that appear on the trunk.
5. End of the third winter: cut back the vertical axes
– Shorten the 4 extensions by two-thirds of their length, i.e. 20 cm above the second wire.
– Reduce the shoots that appeared along the first wire to transform them into fruit-bearing branches (spurs). Leave only 3 well-formed eyes.
6. Third growing season: remove suckers
– Remove the numerous shoots at the bending zones.
– Pinch off the remaining shoots along the 4 vertical axes.
7. Complete the formation of your trellised tree
– Cut the extensions of the 4 axes (on the current year’s growth) in half during the fourth winter. The last bud should face forward.
Good to know: plants are usually sold at this stage for planting in the orchard because buds have already formed in the lower part of the double U.
– It is necessary to thin the young fruit in June of the fifth season so that only 10 to 15 fruits per meter of canes remain.
– Begin fruiting pruning, i.e., trigeminal pruning, by pinching back spurs to 5 leaves during the summer and 3 eyes during the winter.
– During the 5th, 6th and 7th winter, cut back the 4 canes by 1/3 of their length until they reach 2 m high. A pruning each winter will allow us to maintain the axes at a maximum of 2.50 m: a shoot located lower will be able to serve as a relay for the extension of the axis.
– Eliminate the suckers that could compete with the carpenters.
The formation of the double U will be completed after 3 years.
Below is a list of materials needed to support a tree
Wire
Grafting machine
Universal ties
Pruning shears