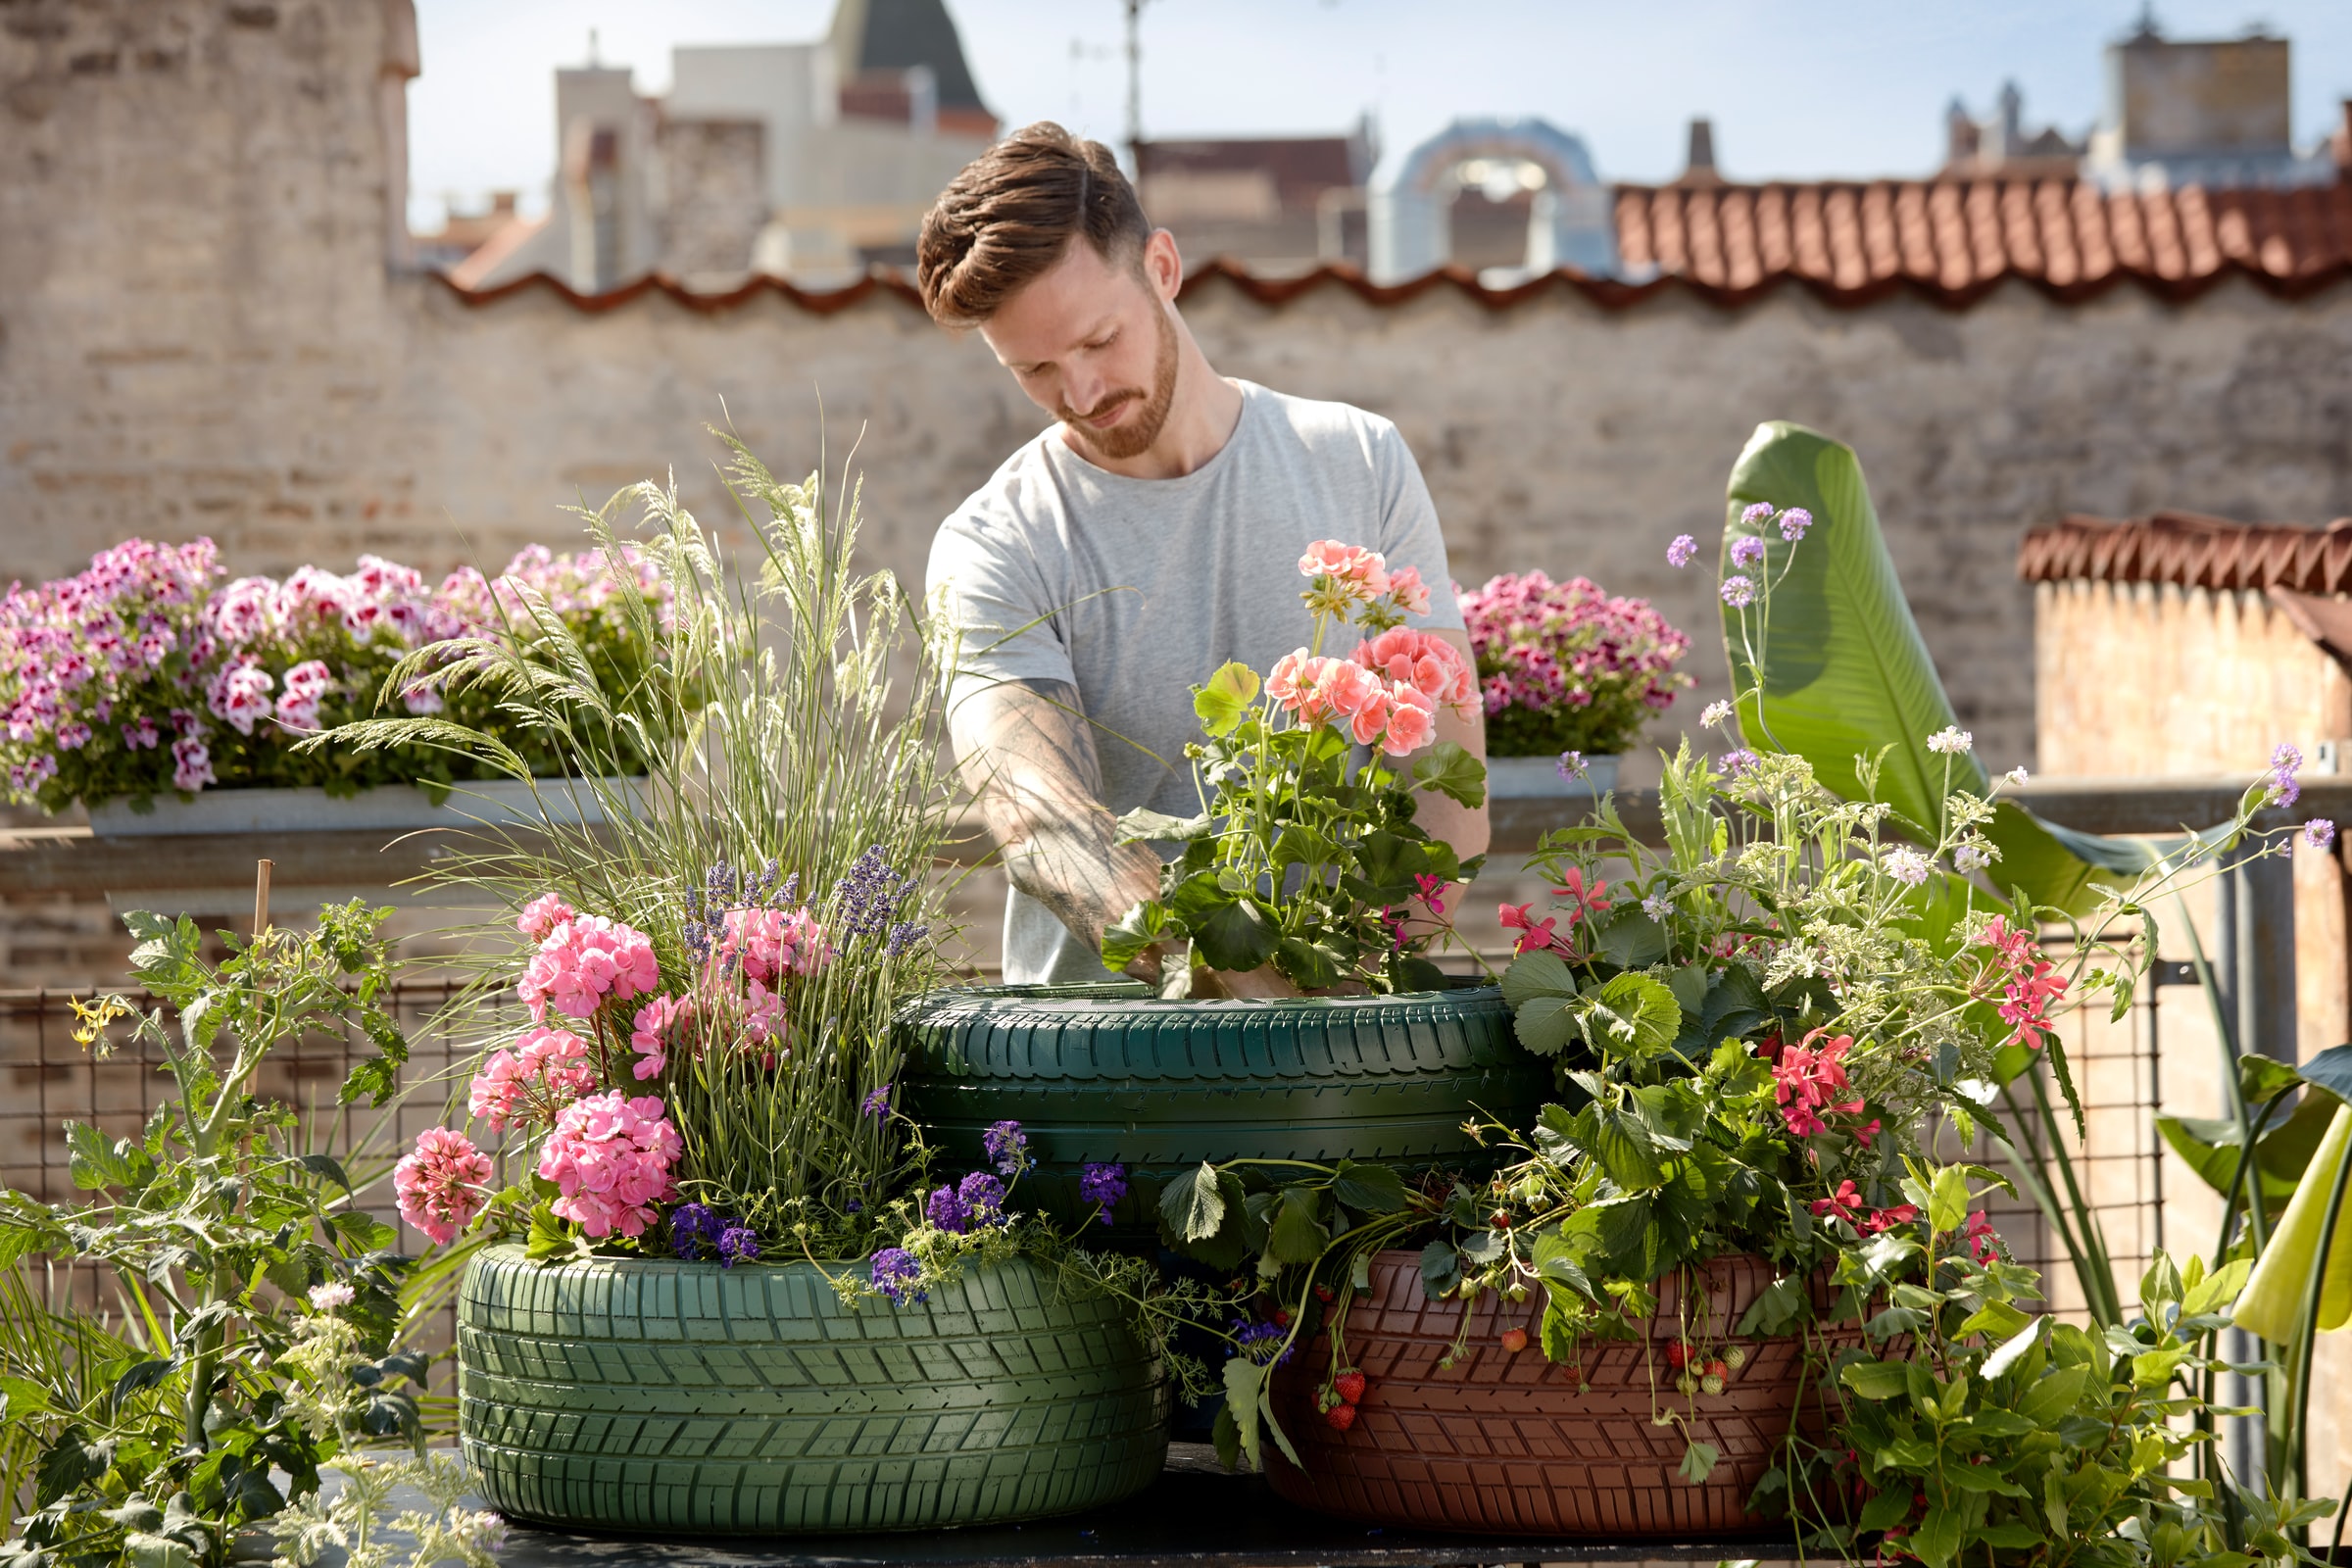
How to Create an Open-Air Free-form Tree
Contents
Focus on free forms in the open air
Step 1: First summer: reduce the anticipations of the rootstock
Step 2: Second summer: graft the half-stems at the top
Step 3: Second winter: cut back the leader
Step 4: Third year of growth: pinch the shoots
Step 5: At the end of the third winter: strengthen the branch
Step 6: Fourth winter: open the branch
Step 7: Fifth winter: strengthen branches
Windy free forms are generally of two types: stems with a trunk of 1.50 to 1.80 m and half-stems with the first branches located at 1.30 m from the ground.
The free-standing form is used in grazed areas or in the case of fruit trees that do not require treatment, such as cider apple trees.
Soft and low stems with a trunk of 60 to 80 cm are forms adapted to dwarf fruit trees grafted on rootstocks of very low vigour.
Here are the detailed steps to create an open-air free form.
Focus on the free forms of full wind
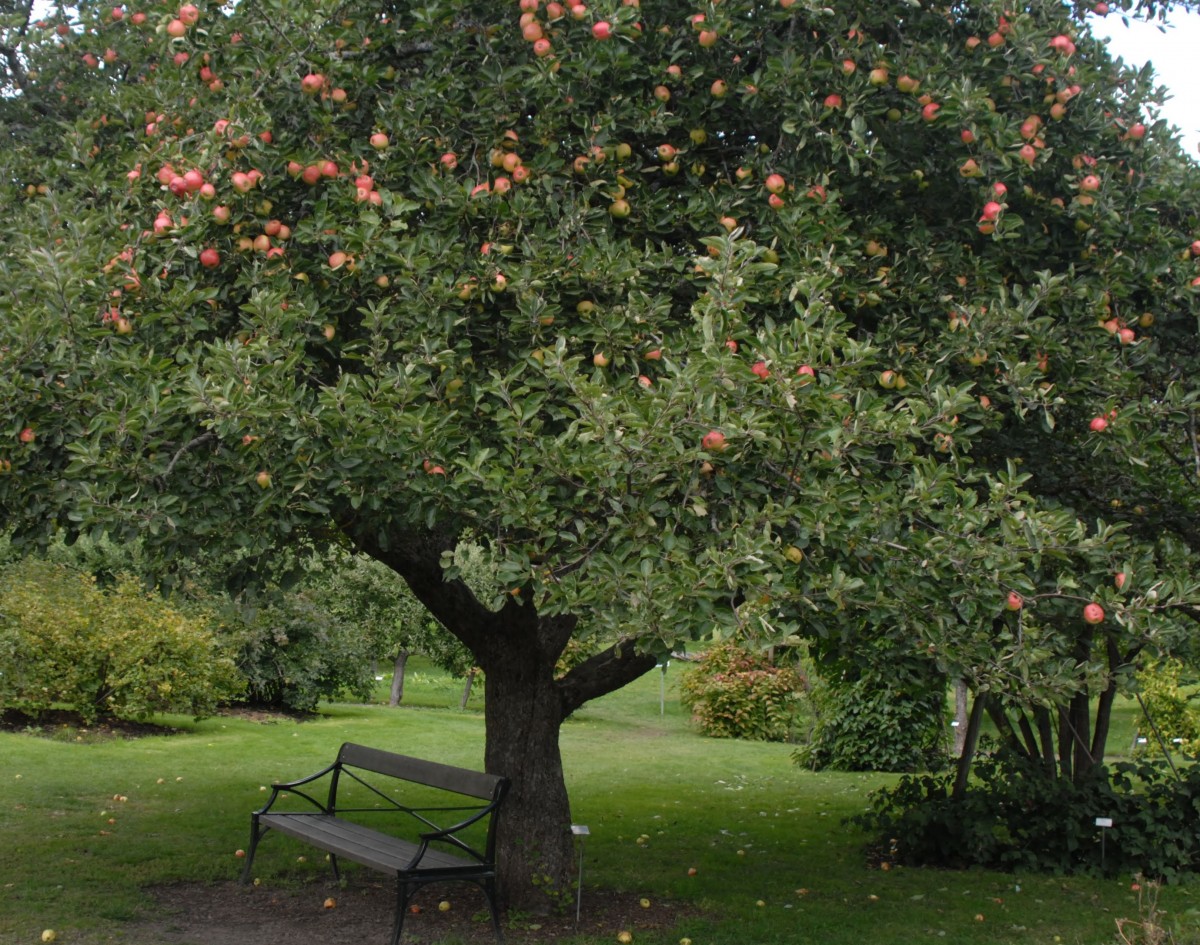
The stem forms a tree of 7 to 8 m high, with a trunk of 1,80 m, provided with 3 or 4 branches which ramify to form 6 to 8 carpenter branches, including a sub-Charpentier.
The distance of the plantation is 7 to 8 m in all directions.
The training period is 7 to 8 years (4 years in nursery and 3 or 4 years in orchard).
Staking is necessary for 2-3 years. Provide 2-3 stakes of 2.30 m, buried 60 cm, positioned at a distance from the tree and attached to the trunk by flexible ties (jute bands).
Principle of the half-stem free form
The half-stem stops at 5-6 m high with a trunk of 1,30 m.
The planting distance is 6-7 m on the row and 7-8 m between the rows.
The training time is 3-4 years in the nursery and the orchard for 7-8 years.
Staking is also necessary for 2-3 years.
Grafting
Stems and half-stems are grafted on free-standing trees (shoot from a seedling of the same species as the graft) of the same species, sometimes of another species, which gives quite vigorous trees, well anchored to the ground, often more tolerant to limestone (soils with a pH higher than 7.5).
The grafting is carried out in escutcheon or by a complicated English graft:
either at the neck (peach trees);
or at the head (cherry trees);
or both at the same time, with a vigorous intermediate variety, used to form the trunk (apple trees, pear trees).
Advantages and disadvantages
The advantage of the free form is that it does not require pruning for fruiting. Moreover, the fruits are better preserved than fruit from trees grown in a fruit hedge or a goblet. The production period often exceeds 80 years.
The disadvantage is that it takes 6 to 7 years for the fruit to set, whereas a fruiting hedge takes 2-3 years.
1. First summer: reduce rootstock anticipation
Let’s look at the case of the head-grafted cherry tree.
It will help if you have a rootstock of the cherry tree type and a scion of the desired variety.
After one year of growth of the rootstock, we obtain a scion of 1,20 to 1,60 m generally provided with anticipates (lateral shoot developed at the same time as the axis on which we thus do not observe traces of bud scales at its base). This also kills low-vigour subjects with a rod.
2. Second summer: graft the half-stems at the top
Install 1 or 2 stakes on each side of the rootstock to encourage birds to land on them rather than on the grafts. It is optional to install the ties immediately.
Remove every other anticipate at the base.
Cut back the other anticipates by one-third of their length.
In the case of the half-stem, during the summer, graft 2 escutcheons at 1.30 m height, slightly offset and opposite on the stem, using a grafting machine.
To form a stem, wait until the rootstock is 2 years old so that the axis is at least 2.20 m high, the grafting being done at 1.80 m from the ground. In the meantime, pinch the anticipated ones to promote the growth of the axis.
3. Second winter: cut back the leader
In winter, cut back the spire above the second scape.
Grafting can also be done at this time with a complicated English graft with 2-3 eyes and on a table (rootstock removed).
4. The third year of growth: pinch the shoots
During spring, pinch the shoots of the graft when they measure 10 cm by leaving 3 eyes (do not do anything in the case of the complicated English graft).
Cut the shoots on the trunk with clippers 2 only times during the season to avoid disturbing the tree. Keep the wheelbase of the severed branch.
5. At the end of the third winter: strengthen the branch
Cut back the 3 to 5 shoots from the graft by two-thirds.
6. Fourth winter: open the branch
You obtain a trunk with about ten branches corresponding to a 2-year-old stem or half-stem ready to be marketed.
Cut back half of the year’s shoots.
Remove 4 to 5 vertical shoots located in the center of the crown.
If the angle formed by the carpenters with the trunk is not homogeneous, flexible ties or sticks can be put in to modify their direction.
7. Fifth winter: strengthen the branches
Keep almost all the branches that have branched and shorten the shoots formed during the year by a third of their length.
Choose to cut above an outward-facing bud.
Remove vertical branches that tend to crowd the center of the crown.
Lightly prune any sloping or horizontal branches below or on the sides of the canopies that tend to open the crown.
The cherry tree is ready to bear fruit!
The following spring, flowering occurs, but sometimes it is not followed by fruit due to too much vigour of the tree. The tree often takes another year to reach a certain balance and start producing regularly. This phenomenon is also frequent in pear and plum trees.
Managing a full-wind tree does not exempt from renewing the fruit-bearing branches (sub-mother) after 4-5 years or more.
Equipment needed to create your free-form tree
Sliding ladder
Pruning shears
Pruning shears
Wooden stake