5 Steps to Building a Bug House
Contents
Make your garden welcoming…
Step 1: Make your cuts
Step 2: Assemble the boards
Step 3: Attach the roof and legs
Step 4: Find a good location for the insect house
Step 5: Furnish the interior of the insect house
In the vegetable garden, the orchard, and even the ornamental garden, insects are the great allies of the gardener, whether they are pollinating insects (bees, wasps, bumblebees, butterflies, hoverflies…) or predatory insects (ladybugs). To provide a lasting home for these insects, why not build a “hotel” that will serve as a refuge for them?
Step by step here is how to build an insect hotel.
Make your garden welcoming…
There’s no point in building a beautiful insect hotel if your garden is not welcoming to winged fauna. To make it attractive to insects:
Be sure to ban chemical insecticides and pesticides as much as possible.
Use organic insecticides (plant purines) sparingly and only in a very localized manner.
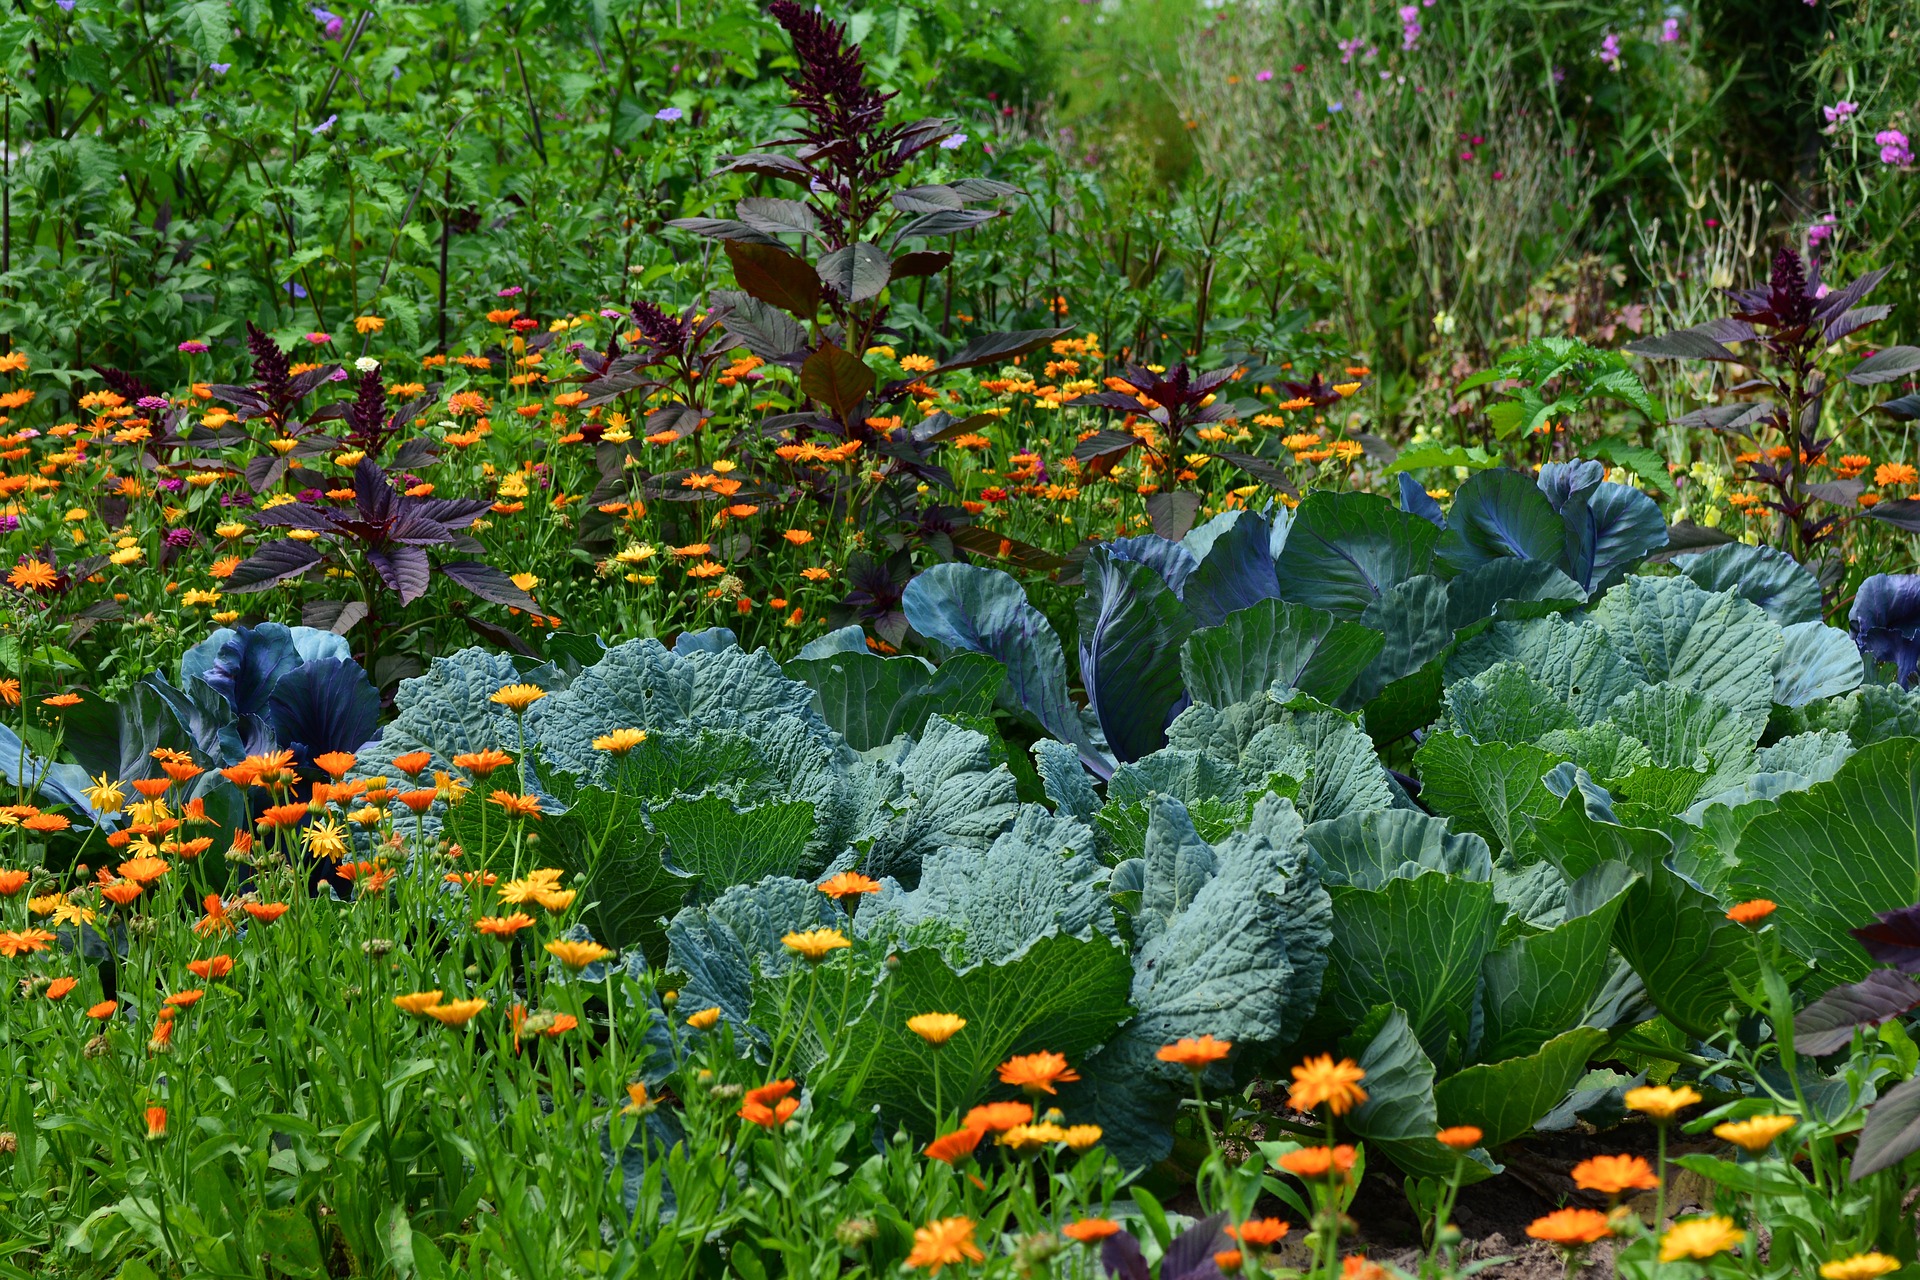
Keep a strip of uncultivated land: wildflowers are the best attractants for insects.
Plant rural hedges with flowering trees: hawthorn, blackthorn, and buddleia.
Convert a corner of your lawn into a flower meadow.
In general, promote biodiversity in the garden.
1. Make your cuttings
If you want to attract insects, there is no question of staining or varnishing the wood used. It is preferable to choose a species naturally resistant to the weather, such as Douglas fir, chestnut or larch.
If you use a less resistant wood, you can paint it with Swedish paint to resist bad weather.
Cut the 25 cm wide planks to obtain the following:
4 planks of 90 cm;
2 planks of 92 cm;
and 4 planks of 28 cm.
Saw the 30 cm wide boards to obtain:
3 planks of 90 cm;
and 2 planks of 65 cm or a little more (if the roof overhang is a little larger, all the better).
2. Assemble the boards
Form the hotel’s frame by screwing together the two vertical posts (92 cm) and the two horizontal posts (90 cm).
Screw together the two horizontal crosspieces (90 × 25 boards), each 28 cm apart.
Close the back of the hotel by screwing in the three 90 × 30 cm boards in parallel.
Install the 4 vertical partitions (28 cm boards) according to the diagram.
3. Attach the roof and the legs
Fix the 2 sides of the roof (65 cm planks) by screwing them.
To avoid rotting, treat the ends of the posts that will be in the ground by burning them until they are black.
Bolt 2 piles to each vertical post.
All left to do is install your hotel and line its cubicles.
4. Find a good location for the insect house

Once your insect hotel is built, you need to find a suitable location for it:
Install it near your overgrown land, a veritable pantry for insects.
It is best to place it facing south, if not southeast, to benefit from the sun, which will warm it up.
If possible, place it with its back to the prevailing winds, or make sure that it is protected from them (tree, hedge).
Please protect it from humidity by raising it about 30 cm above the ground.
To drive the piles into the ground:
Dig holes 10 cm deep with a planter.
Place the piles by hand and pack the soil well around them.
Note: Avoid cementing the piles, as this will allow you to move the hotel as needed.
5. Arrange the interior of the insect house
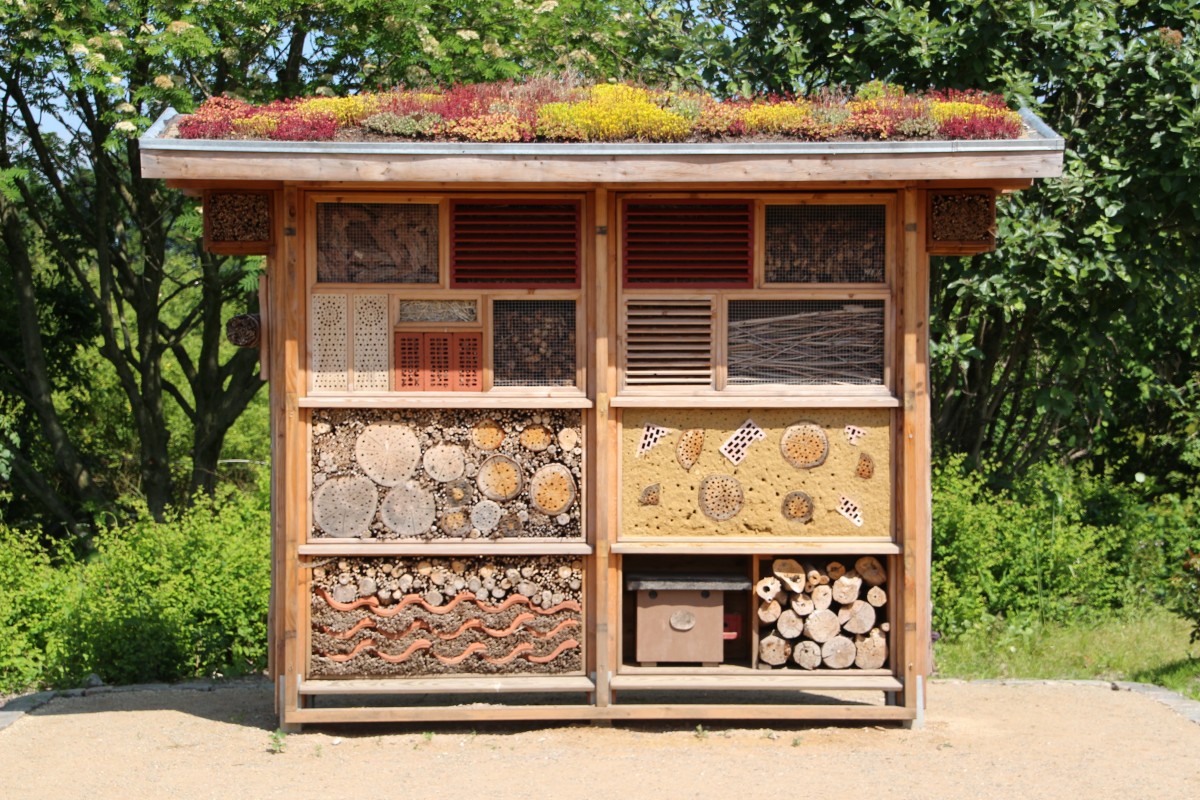
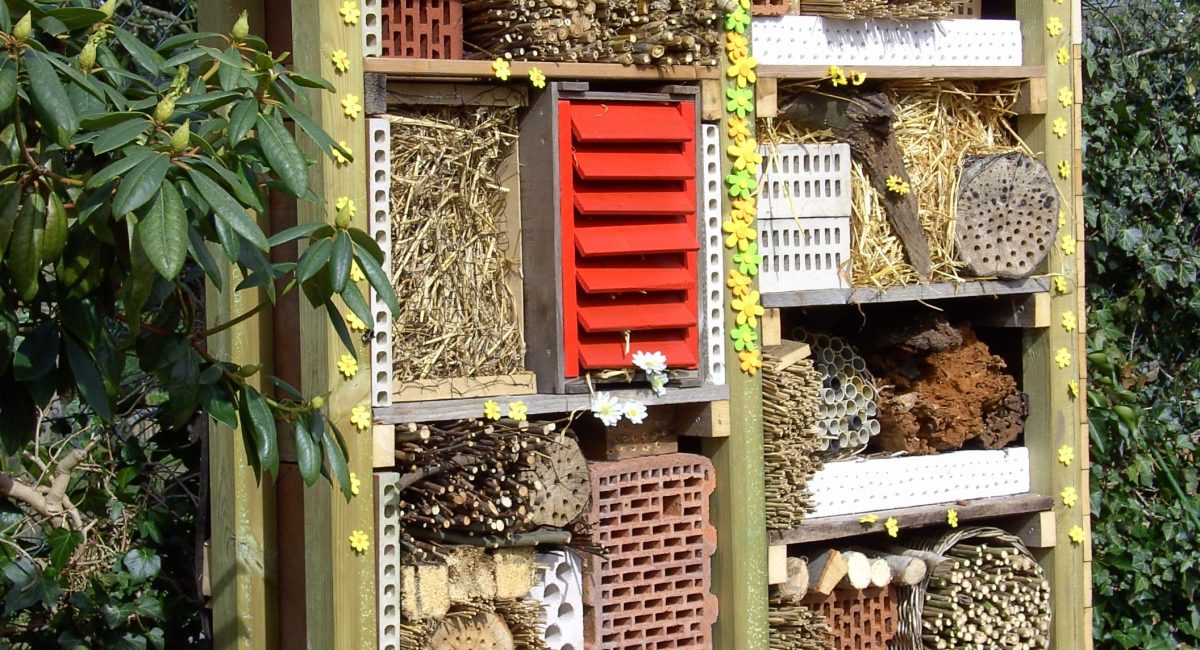
Line each of the cubicles in your insect hotel with the following ideas:
Bamboo stalks and drilled logs for solitary bees and wasps.
Honeycomb bricks filled with straw, possibly with some clay soil for solitary bees.
Flowerpot filled with hay or wood fibre for earwigs.
Flower pots filled with dead leaves, bundles of logs, wooden boxes with holes in them, or scaffolding made of planks with a small gap between two planks for ladybugs.
Pithy stems such as elderberry, buddleia, raspberry, bramble, and rose for hoverflies.
Box with a 10 mm hole and a flight board for bumblebees.
Or: pieces of branches of different sizes, pieces of bark, straw, crumpled newspaper, etc.
Materials needed to build an insect hotel
Stove bolt
Honeycomb bricks
Wrench
Tape measure
Wooden stakes
Wooden boards
Clay pot
Handsaw
Screws
Screwdriver


