4 Steps to Create a Winter Planter
Contents
Step 1: Choose colourful winter plants
Step 2: Experiment with the arrangement of plants in the planter
Step 3: Prepare the substrate for the planter
Step 4: Plant the plants
Examples of winter planters
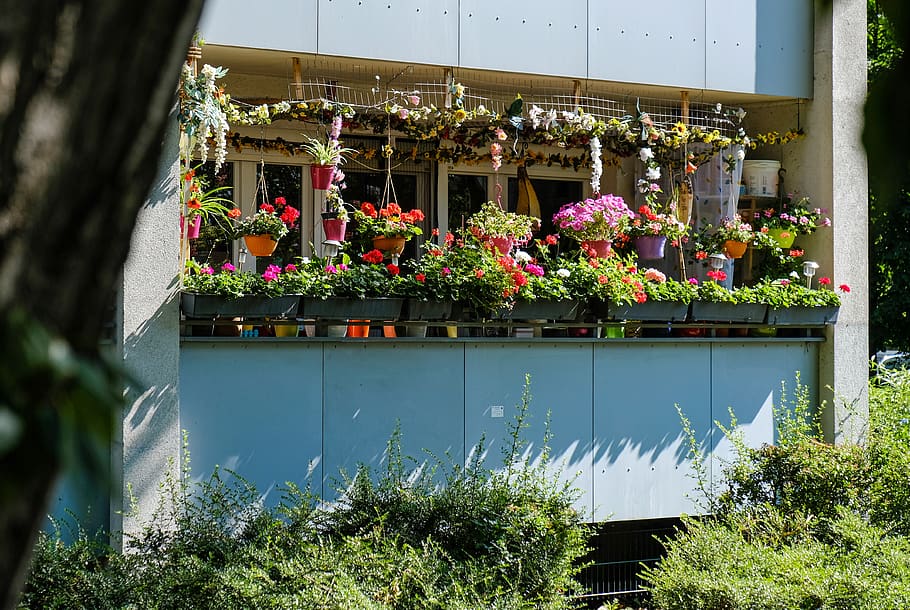
Why not plant your balcony in winter? A wide range of plants are frost-resistant and can even be used to add colour to your winter planters.
This article explains step by step how to create a winter planter.
1. Choose colourful plants in winter
The main challenge is introducing colour into the composition of a planter in the middle of winter. To do this, use the following:
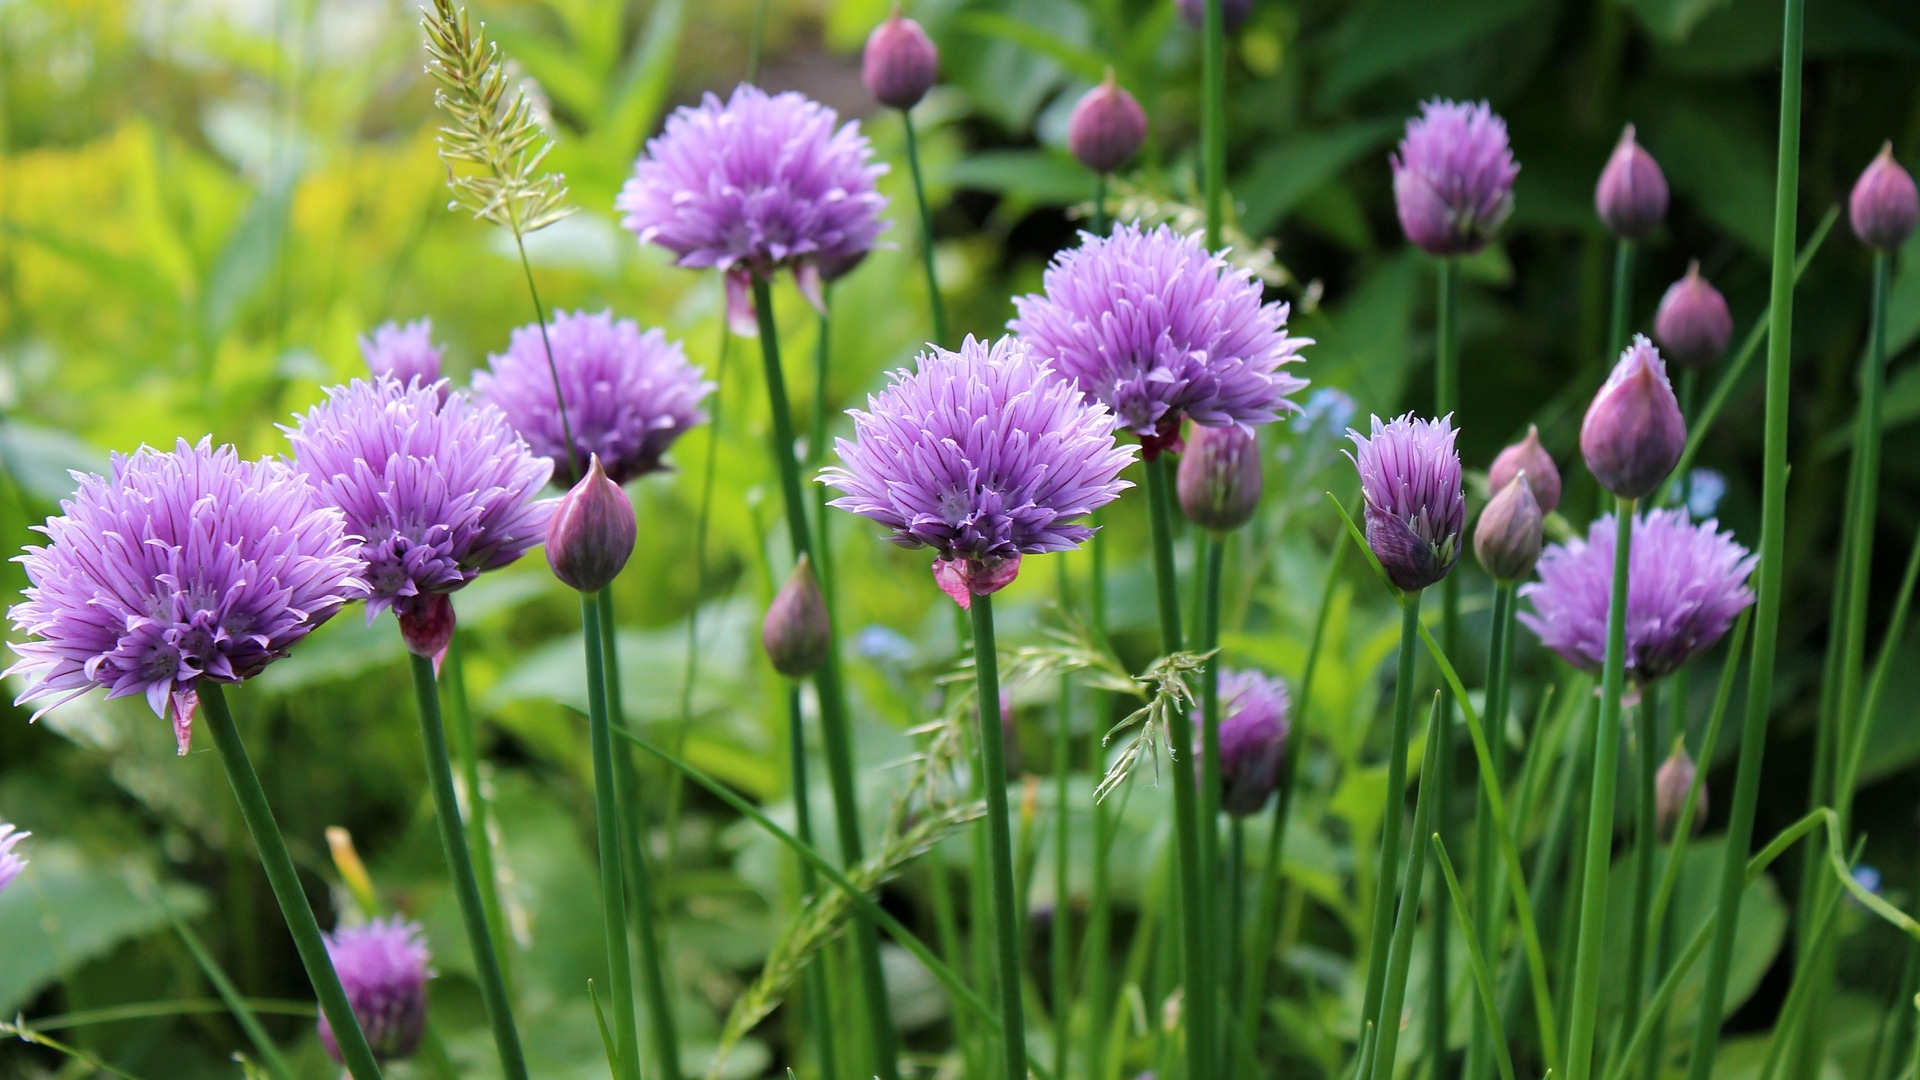
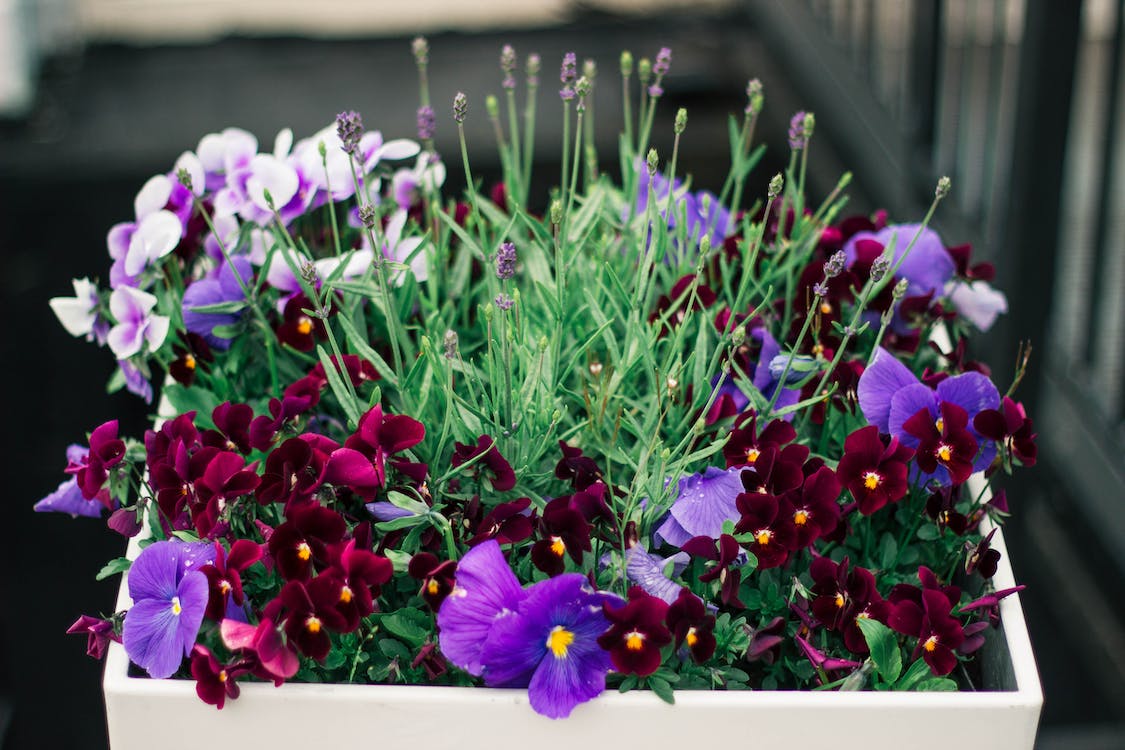
Plants that bloom in winter: hellebores, heather, winter jasmine, cyclamen, pansies.
Plants with berries in winter: skimmia (bright red berries), wintergreen (pink-red berries), pemettya mucronata (pink berries)…
Plants with red or purple foliage: Palace Purple heather, purple pittosporum, Scarletta leucothoe, sage (with red foliage in winter)…
To enhance the above plants, to create contrasts of shapes, colours and textures, to flesh out your planter and give it an interesting relief, you can introduce other plants chosen among :
Dwarf conifers.
Evergreen plants: thyme, rosemary, boxwood, as well as drooping ivy, which gives a particular grace to your planters.
Plants with silver-gray foliage: santolin, Powis Castle mugwort, Silver Carpet bear ear, woolly helichrysum…
Grasses: blue fescue, bronze sedge…
2. Test the arrangement of the plants in the planter
Place the plants still in their container in the empty planter.
Move them around until you obtain the composition that seems most harmonious to you.
Make sure you know where each plant will be placed, possibly by drawing a diagram.
3. Prepare the substrate for the planter
Start by placing a layer of clay balls a few centimetres thick at the bottom of your planter.
Then pour good-quality potting soil into the planter.
Only fill the planter two-thirds full of potting soil.
4. Put the plants in the soil
Take a plant still in its plastic container and place it in its final position in the planter. Turn the container on itself to dig a hole in the loose soil.
Repeat the process with the different containers.
Carefully remove each plant from its container. If necessary, untangle its roots and place it in the corresponding hole.
Pack the soil well with your fingers around each plant and water immediately.
Examples of winter planters
Here are two examples of winter planters with plants easily found at florists. In these examples, the number of plants is calculated for 50 cm planters.
Example n° 1
This first example is particularly suitable for the December-January period. You will make this planter with the following:
dwarf spruce;
a skimmia with red berries;
two feet of white hellebores;
one foot of drooping ivy.
Depending on the size of your plants, see how best to place them in the planter. Our suggestion:
The dwarf spruce in the background, slightly off-center to the left from the middle of the planter.
The skimmia on the left and slightly in front of the spruce.
The two hellebores are on the same line to the right of the spruce.
The ivy in front of the two hellebores.
Example n° 2
This second example is best done around February-March when an irresistible urge for spring colours begins to make itself felt. You will complete this planter with the following:
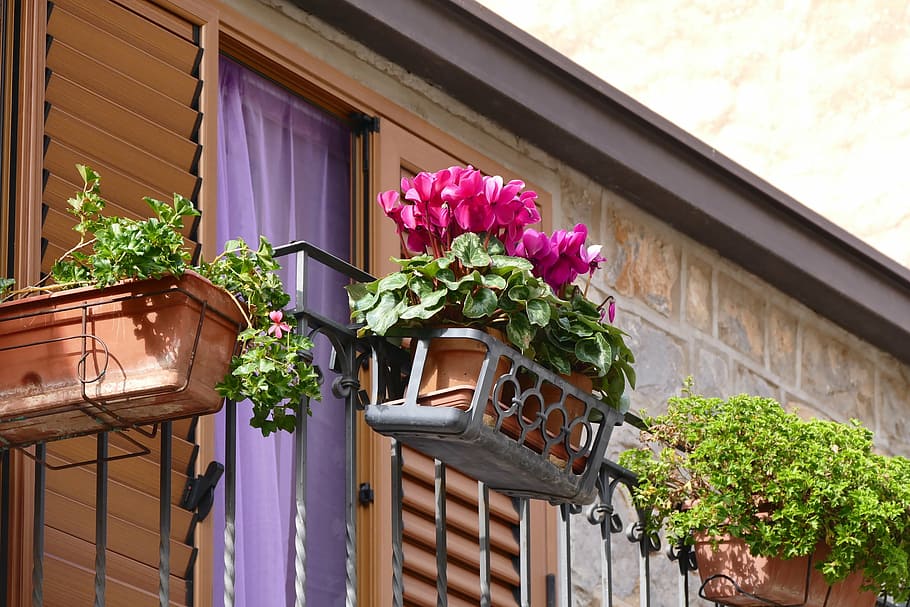
three vivid pink cyclamen plants;
one foot of round santolin;
a foot of drooping green ivy.
Arrange the plants as follows:
Santolin off-center to the right of the middle of the planter;
the ivy to the right of the santolin;
the three staggered cyclamen to the left of the santolin.
Materials needed to create a winter planter
Clay pebbles
Planter
Potting soil