Summary
– Focus on drip irrigation
– Step 1: Prepare the installation
– Step 2: Install the drip system
– Step 3: Case 1: Installing a vegetable garden
– Step 3: Case 2: Installing a Landscape Irrigation System
– Step 3: Case 3: Installing a potted plant irrigation
– Step 3: Case 4: Installing a hedge watering system
Do you experience daily watering as a chore but still dream of a lush garden?
Automatic drip irrigation is a simple, environmentally friendly and economical solution that requires little effort to set up and very little investment to deliver the right amount of water where it’s needed.
Here are the tips for installing a drip irrigation system.
Focus on drip irrigation
There are a large number of automatic watering systems on the market. They are made up of the following elements, with a few variations
– a battery-operated programmer that allows you to program the duration of watering according to your needs;
– a pressure reducer (sometimes called a central irrigation unit) connected directly to the main hose, which delivers an adapted operating pressure
– the main hose (Ø 13 mm) to bring the water as close as possible to the vegetable garden or the garden area;
– in the case of the vegetable garden:
◦ from the hose (Ø 13 mm) with integrated drippers (this hose is provided with holes);
◦ valves (Ø 13 mm) to isolate the branches (this way, you can close or open each row depending on the season and planting);
◦ “T” connections, end caps (Ø 13 mm).
– In the case of potted plants and beds:
◦ capillary pipe (Ø 4.6 mm) connected to the main pipe and equipped at its end:
▪ drippers (linear or automated);
▪ adjustable sprinklers (with variable height rod to deliver water at height);
◦ of reducers (sold with a tool to pierce the main pipe);
◦ supports driven into the ground to hold pipes and capillaries in place.
– In the case of hedges:
◦ porous pipe (Ø 13 mm), water drips down the entire length of the pipe;
◦ of fittings (Ø 13 mm).
1. Prepare the installation
– Carefully determine the watering points.
– Choose the watering according to the plantings and areas to be watered:
◦ drippers in pots, in hedges, at the base of some plants;
◦ sprinklers for the beds;
◦ of distribution booms for the vegetable garden, to water at the foot of the crops, spaced by the distance between your rows;
– Study the ground layout accurately to estimate the length of the main hose and capillary hose needed for your installation.
– Do not hesitate to make a diagram; it allows a more concrete approach.
2. Install the drip system
– Screw the programmer to the water tap in your garden.
– Connect the main pipe to this box.
– Unwind it to the garden area to be watered (bed, lawn, vegetable garden).
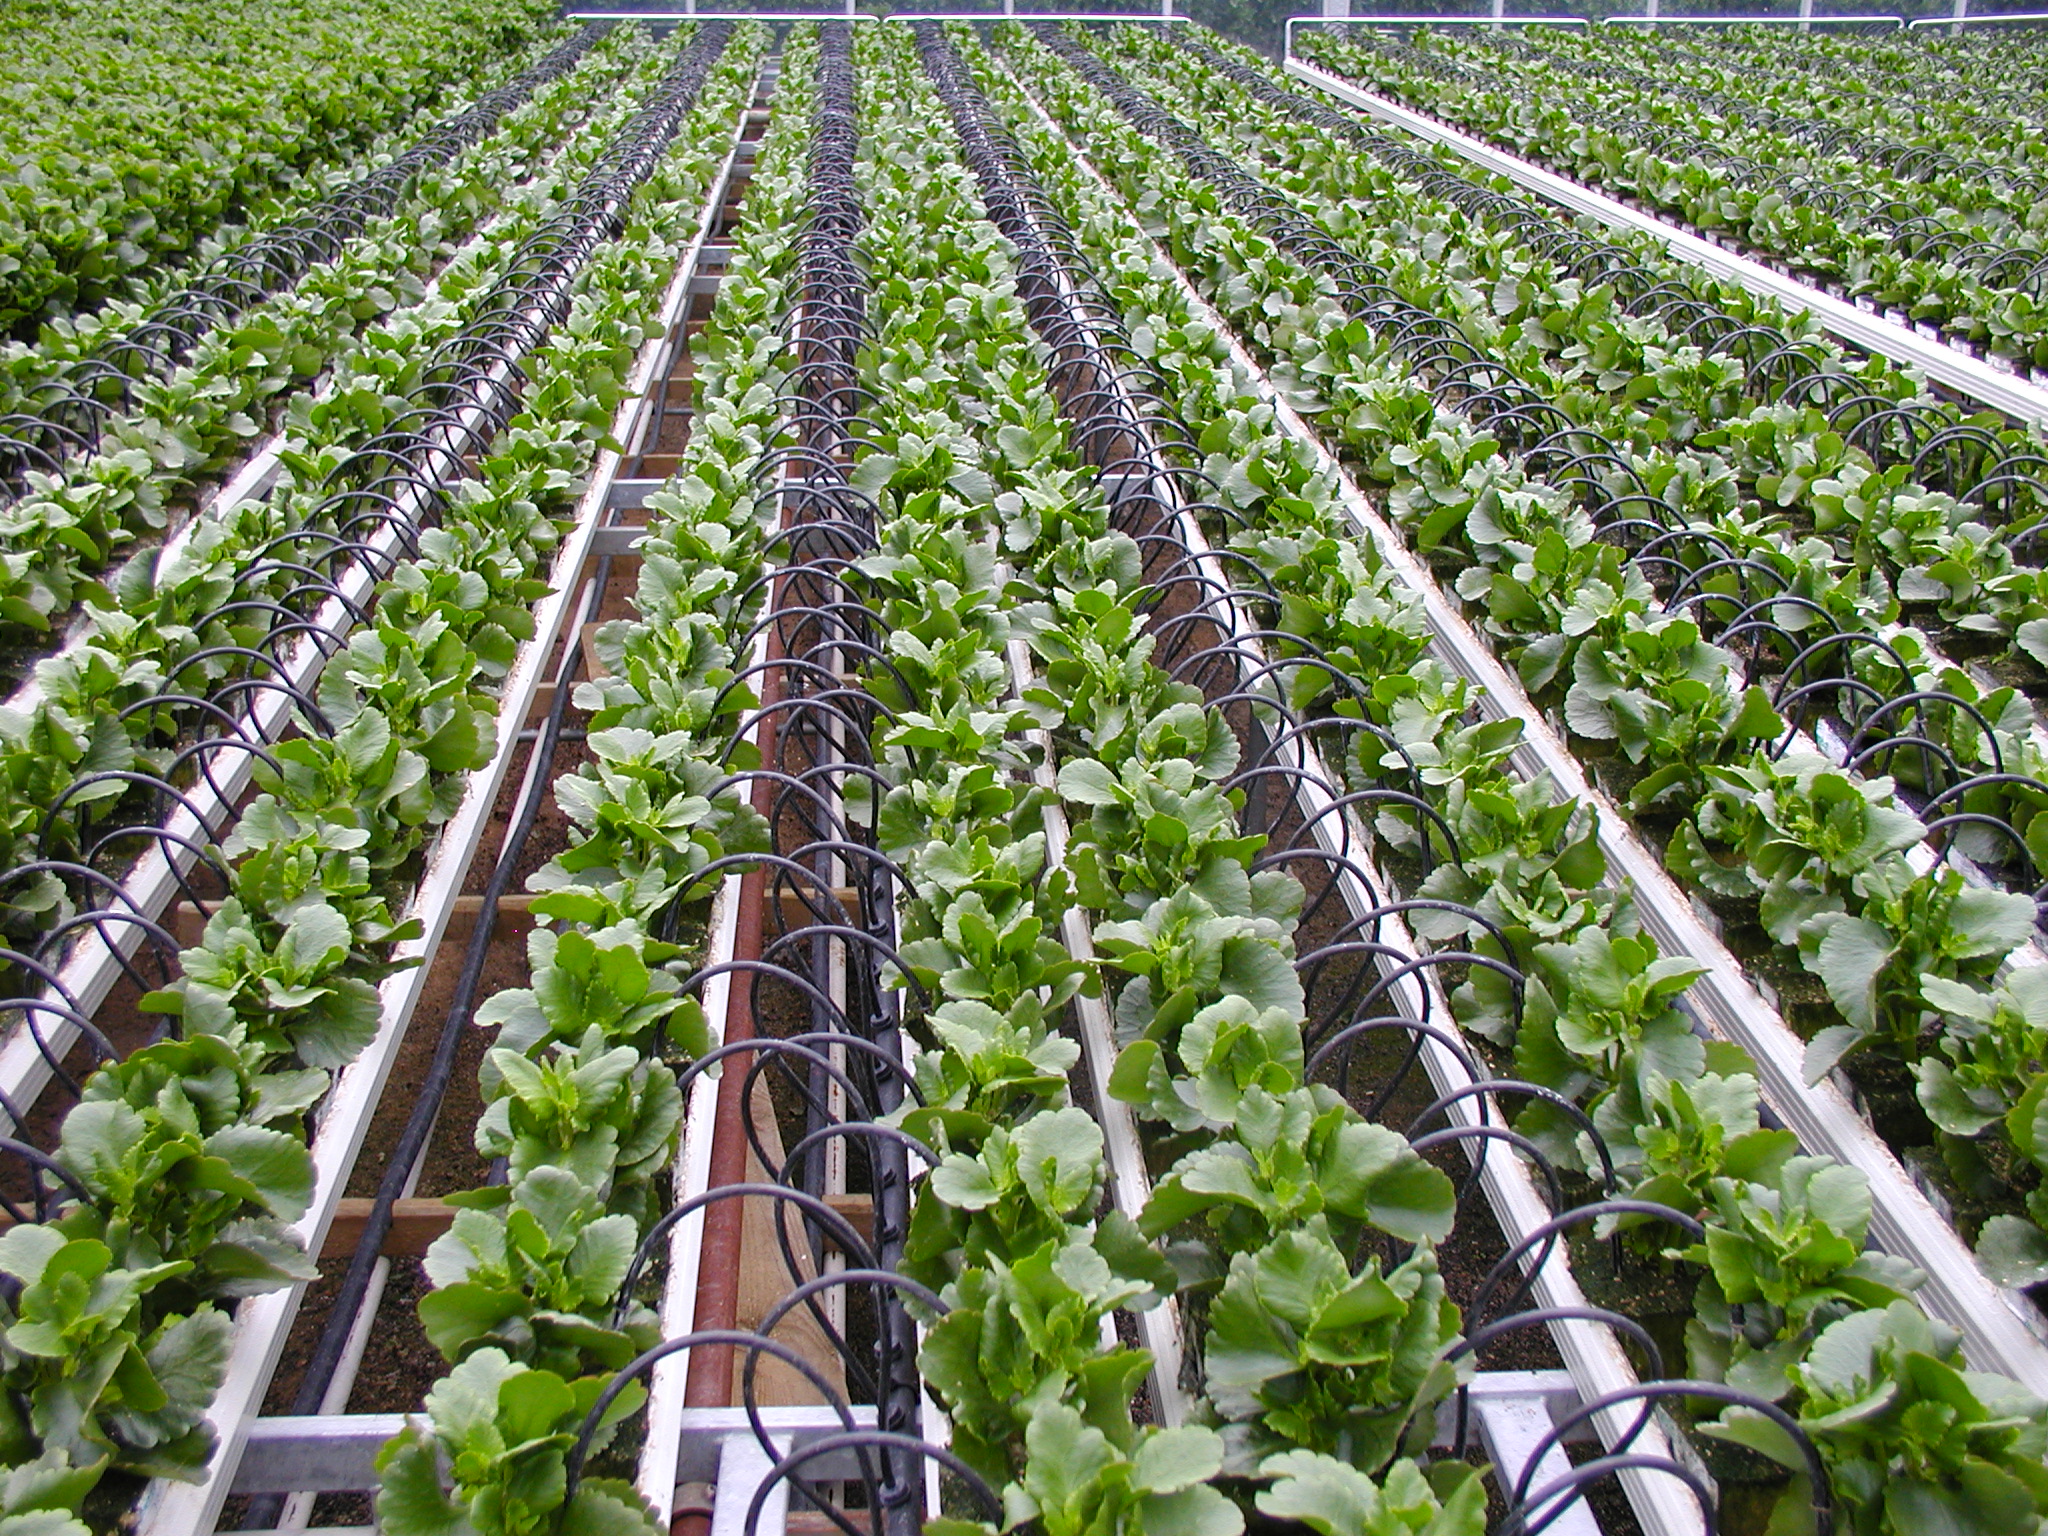
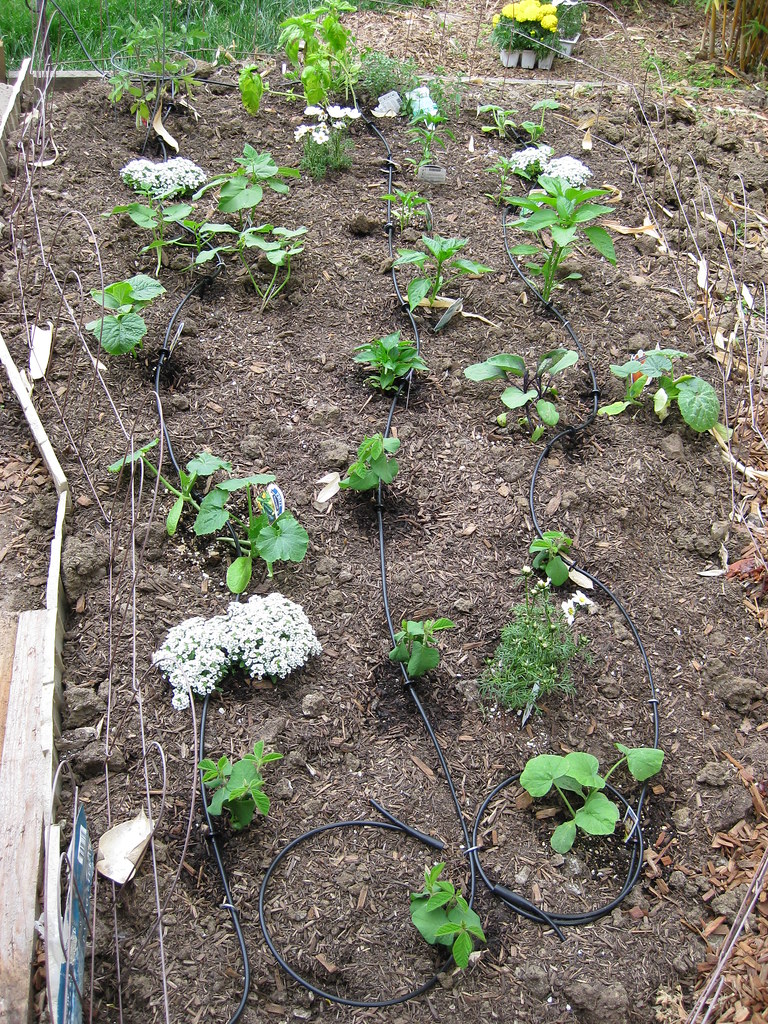
3. Case 1: Installing a vegetable garden irrigation
With a vegetable garden sprinkler, drip water is delivered along each row. Here is how to install it:
– Unroll the main hose perpendicular to the vegetable garden rows.
– Cut it at each row.
– Install a “T” fitting.
– Connect a valve to this fitting and then continue with the hose with integrated drippers along the row.
– Close the end with an end cap.
3. Case 2: Installing a mass watering system
With the bulk watering system, your plants are watered by sprinkling. Follow these instructions for installation:
– Start from the main hose.
– Prepare the necessary length of capillary hose to reach the bed.
– Use scissors to cut the hose.
– Screw a sprinkler onto the end of the capillary.
– Attach it to the end of a riser rod.
3. Case 3: Installing a watering system for a potted plant
To water potted plants, a capillary hose reaches each pot. To benefit from this system at home:
– Start with the main hose.
– Prepare the necessary length of capillary hose to reach each pot.
– Use scissors to cut the tubing.
– Screw a linear or adjustable dripper (depending on the plant’s needs) to the end of the capillary.
– Hold the tube in place with a support bracket that is screwed into the ground.
3. Case 4: Installing a hedge irrigation system
With this watering system, a porous hose runs along the length of your hedges.
– Unwind the main hose at the beginning of the hedge.
– Install a connector.
– Connect a valve to this fitting and continue with the porous hose.
Equipment needed
We’ll end with a checklist of the equipment you will need to install a drip irrigation system.
|
Sprinkler |
|
Dripper |
|
Pipe cutter |
|
Pipe with integrated dripper |
|
Capillary hose |
|
Porous pipe |
|
Valve |